Showing posts with label Altered Canvas. Show all posts

Wednesday, April 20, 2011

Home Show Demos

These are a couple of the demos I created for the SABA Home & Patio Show last week. Unfortunately, I didn't get pictures of the wood LOVE centerpiece or the configuration tray I complete, they where my favorites! I was so nervous about doing the demo, I completely forgot to take photos! Who would have thought I would forget. Oh well, I will have to make more!


This demo was with Cricut Vinyl. I made this for our Michaels to use at future demos. This is an 18x24 frame with silver poster paper inside to make it look like a mirror. The actual project I demonstated involved the Destinations cart. I cut out the Paris Eifel Tower and used a 16x20 frame with scrapbook paper inside. Very cool but again, no photos.... aye!


This demo was of altered canvas. I loved making this! I used craft paint, stickers, a ballerina poster, scrapbook paper, bling and lots of toole!


I had a terrific time doing the demo but I learned my lesson with no photos!

Thursday, March 31, 2011

Altered Canvas Art


I made this out of 16x20 canvas, acrylic craft paint, scrapbook paper, photos from an internet search of grapes, a quote I found on the internet, chaulk ink, Mod Podge rhinestones, ribbon, artifical grapes and leaves.


I layered the ribbon with the sheer on the bottom and the solid on the front. The scrapbook paper in the background is 12x12. I put MOD PODGE on the back of it and glued it on. The grape bunch was sewn on the canvas with invisible stretch magic thread.


I tore the sides of the images and the quote and then inked the edges with brown chaulk ink. The piece on the bottom is a part that I tore off and I thought it looked good as part of the piece. These pieces were MOD PODGED on the backs to glue them on.


When the Mod Podge dried on the backs, I poured Mod Podge on the front, 2 layers, completly drying inbetween layers. This gave it a finished, glossy look.

I glued grape leaves and grape on the corners with hot glue. The ribbon is stapld to the back canvas stretch bars.


I put these piece in my kitchen since I love the Tuscan decor and I love wine and grapes. I ended up hanging it on my red wall, next to a piece the Floral Designer at my Michaels store created for me.


Thanks for looking at my project!

Friday, March 18, 2011

My Family Tree

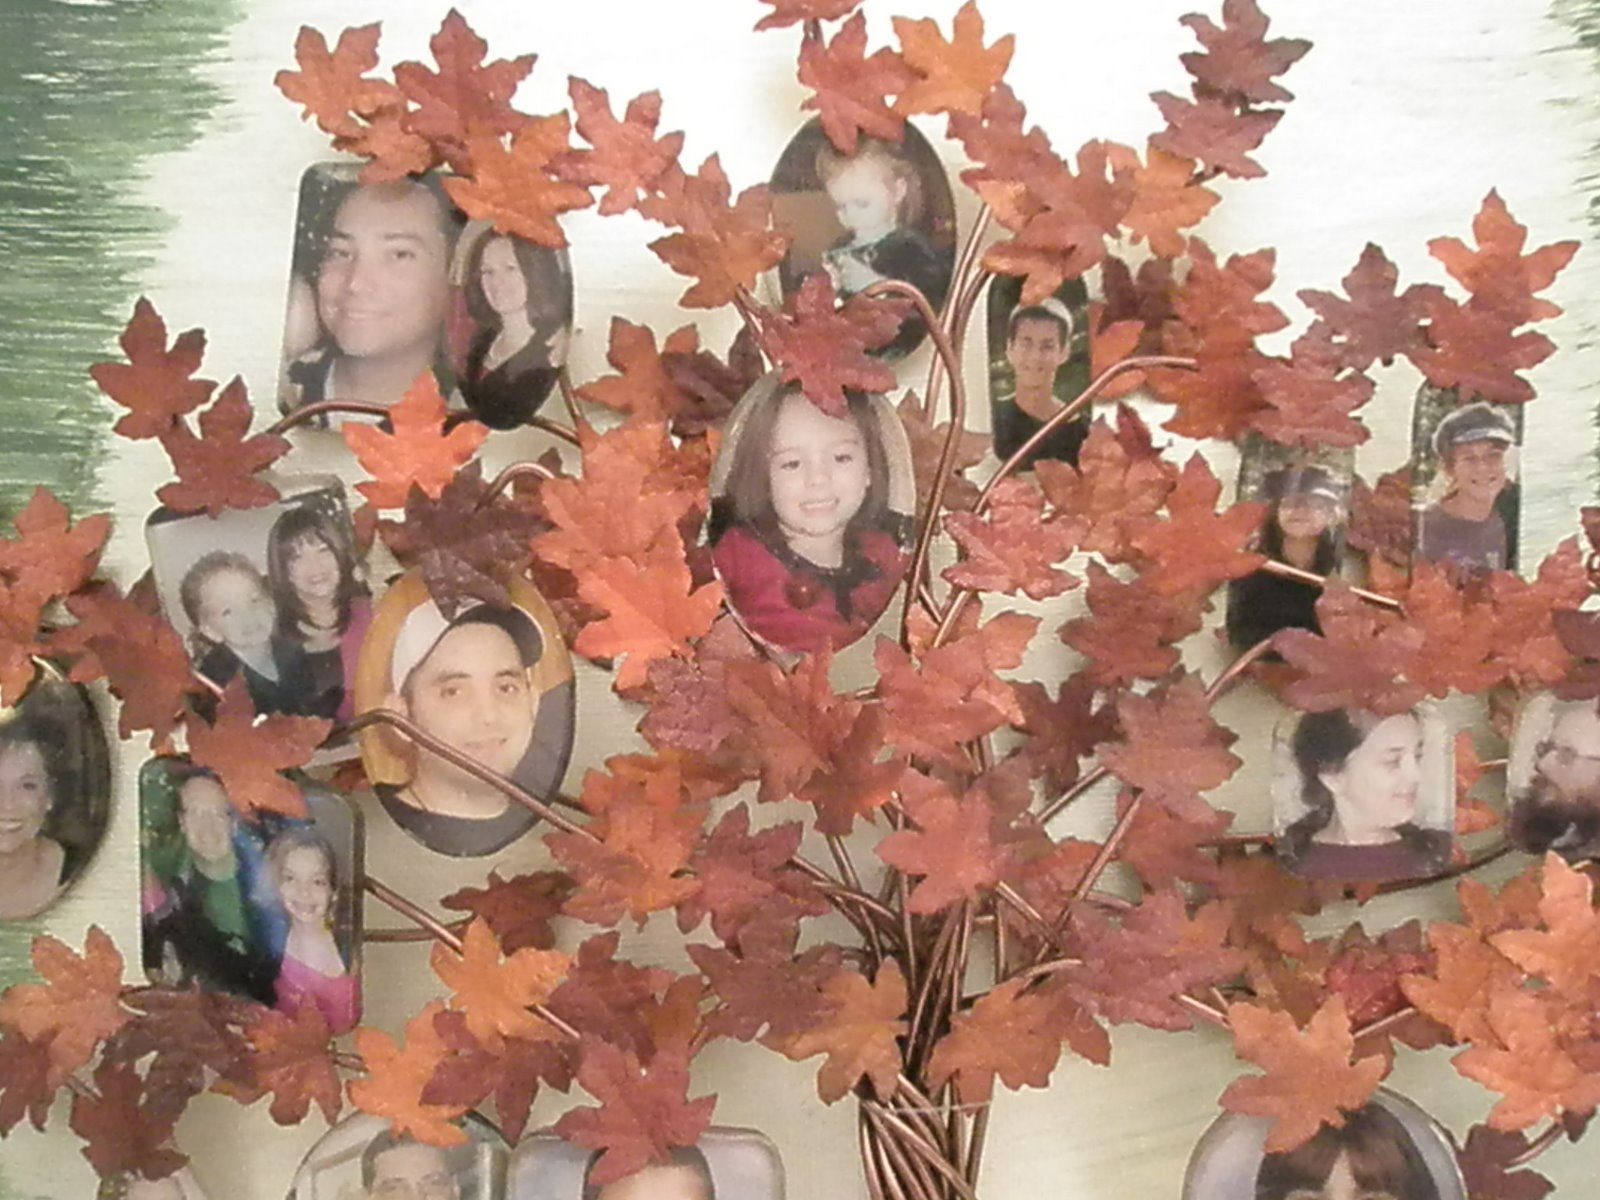
I made this family tree as part of the Compendium of Couriositis Challenge at Studio L3 but it took me too long to make to enter the challenge. I love how this turned out! I have plans to frame it and maybe add a title or phrase. I purchased most items at Michaels:
* Tim Holtz Fragments
* Tim Holtz Alcohol ink
(added to the green paint for more texture effects)
* Glossy Accents
* 16x20 canvas
* Chaulk Ink
* Acrylic Paint
* Wire
* Leaves (these were given to me, Michaels sold them a long time ago.)
* Stretch beading string, clear
* E6000 (to glue the leaves)

I painted the canvas edges green and the middle a champaigne metallic beige. I just kept playing with it until I liked the center shape, where the tree will go. When the green color was dry, I used Alcohol ink around the edges to give it a bit dirty look and to add a bit of darker green to it. I can't tell I used the Alcohol ink very much, but I did and it is the look I liked.

I printed the photos as wallet size through Snapfish.com . I put the Glossy Accents on the fragments and the placed on the photo. I let them dry overnight and then trimmed to fit.
I then cut about 10 pieces of wire a little bit shorter than the canvas. I twisted the wire in the middle to form the trunk and then formed the branches and the roots.

I sewed the tree onto the canvas with the clear, stretch beading thread to secure it. Then, I sewed the fragments onto the branches. I put my family on on side of the tree and my husbands on the other side. I glued the leaves onto the fragment to hide the thread and I glued leaves all around to fill the empty spaces. While gluing, I moved the branches into better positions so none of the faces was blocked.

I really like how this turned out! I am going to date it and add some more, I will update this post when I do but I wanted to share with you my little masterpiece. This was a lot of fun because I didn't use a pattern or template, I just thought about what I would like and took it from there. I am usually looking for inspiration around the web but this time I looked to my family and was inspired!